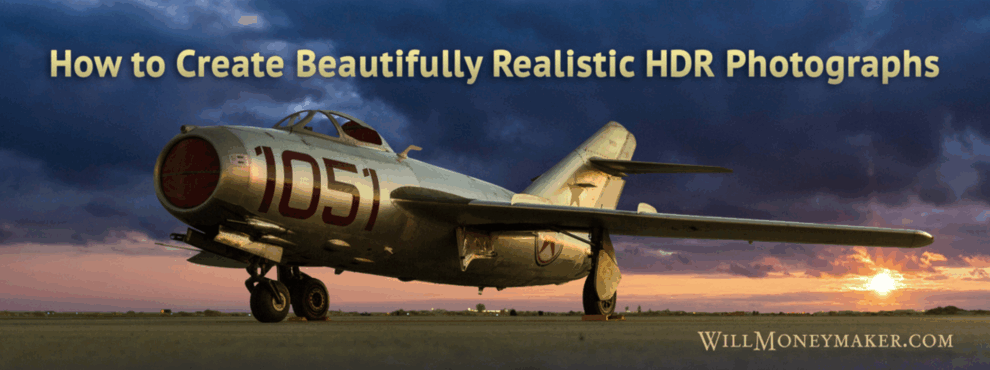
The beauty of high dynamic range (HDR) imagery is that it lets you capture a much wider exposure range than a normal photograph. While the process for creating an HDR photo sounds complex, it’s actually very simple. In this quick tutorial, I'll show you not only how to create these beautiful images, but also how to avoid some of the common problems that result in an unrealistic HDR image.
Bracketing Your Photos
The first step to creating an HDR photograph is to take a series of bracketed images. If you’re capturing a sunrise, for instance, use a tripod and take photos across a range of exposure values to ensure that each element in the photo is properly exposed in at least one of the bracketed frames. This means that you may need to take two or three images for the sky and several more for your subject and the foreground so that you can ensure nothing is lost in blown out highlights or deep shadows.
Creating the HDR Image
Once you have a series of bracketed images to work with, use Photoshop or similar software to merge them. To do this in Photoshop, go to the File menu, scroll down to Automate and choose the Merge to HDR option. You'll be able to select images, and the software will import and align them.
As you’re importing the images, make sure to select the 32-bit option from the drop down menu to the right of the preview window. This will ensure that your image has as much data as possible when you're ready to start making adjustments. Once you're satisfied with the preview, click the OK button in the lower right corner to merge your images to HDR.
Adjusting Color and Exposure
Once you’ve created the HDR image, you're free to adjust color and exposure in whatever way you like. This is where you'll start to see the advantages to this type of photography. A 32-bit file made from several bracketed exposures means that you'll have tons of room to adjust color, contrast, shadows, and highlights without losing details. In a normal image, there simply isn’t enough data in blown out or shadowed areas to preserve fine details like tree branches or foliage.
Avoiding the Over Processed Look
When you're creating an HDR image, it’s very easy to push things a little too far. We've all seen HDR images that have wild colors or bright halos around buildings or landscape features. Some HDR photos look more like paintings than photographs.
To avoid this look, be careful not to push your adjustments too far. As with any other photograph, avoid oversaturating the colors and make sure that you don't overuse the contrast, brightness, shadow and highlight sliders.
Halos are another matter entirely. You'll often get them around buildings, trees or dark objects because as your software tries to choose areas with the right exposure to make the final image, it will lighten the dark objects a little too much, which results in a brighter area all around the darker subject. To correct this, be conservative with your contrast and brightness settings and as you merge the HDR image, adjust the blending options for a more natural transition between the sky and your subject.
A camera’s sensor simply can't reproduce the tonal ranges that the amazing human eye can see. HDR photography is a wonderful workaround to help you create dazzling images in otherwise difficult lighting situations.


