As a photographer, there are all kinds of tools at your disposal, from lenses and filters to lighting equipment and more. The neutral density filter is one of the more under-utilized tools, but I'd argue that it is one of the most valuable pieces of equipment you could have.
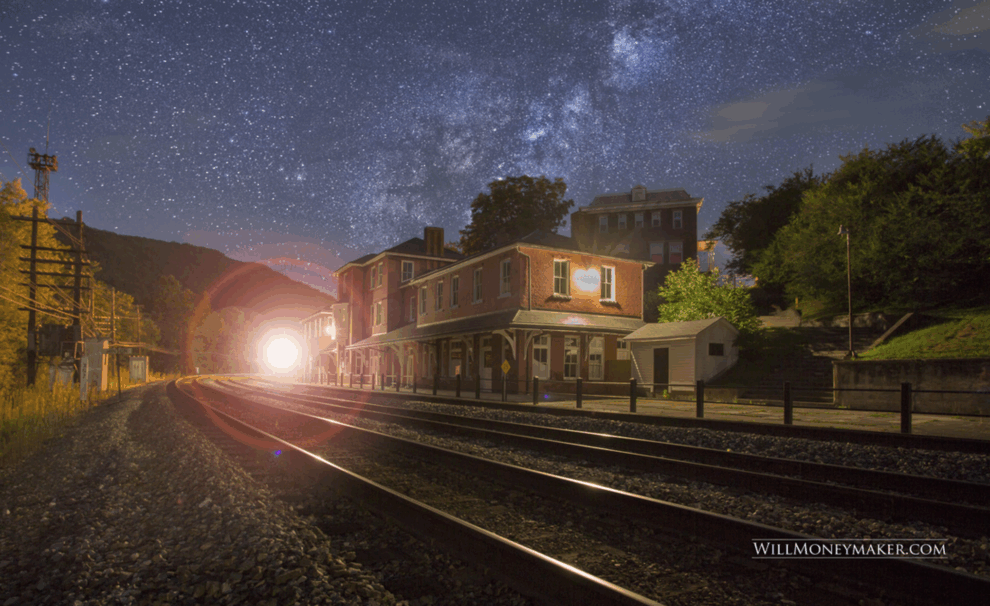
Why use an ND filter? The simple answer is that this filter lets you take long exposures in bright lighting. In other words, if you're standing on a sunlit beach, and you want the water to have that smooth effect that you can only get at dusk or dawn, then you'd need a 10-stop filter to help you slow down your exposure. The same goes for waterfalls, clouds, moving people, vehicles, or any other brightly lit moving object.
These filters let you do some incredible things – but only if you know how to use them. Here are a few tips that will help you make the most of your ND filter.
1. Set Up the Image First
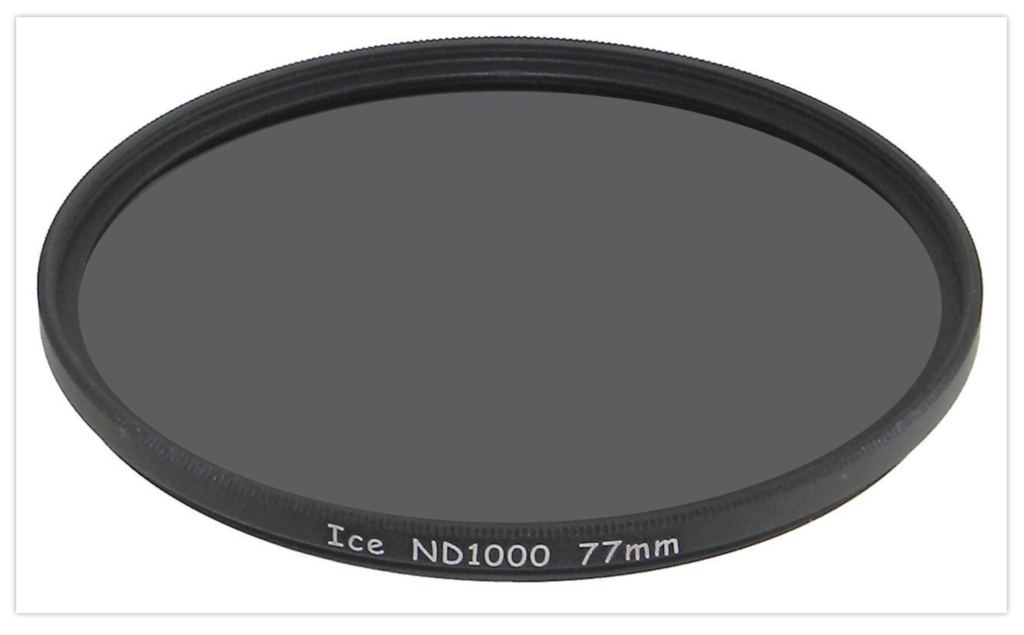
One of my favorite filters is the 10-stop ND filter. Since then, it's so dark it’s tough to see through it – unless, that is, you have a camera with a live view that lets you see through the filter. If your camera doesn't have this capability, the best way to get around it is to set up the image before you put the filter on. Set up the camera on the tripod and frame the image as you like. Go ahead and set the shutter, aperture, and ISO settings, keeping in mind that you may need to bracket your exposures to achieve a properly exposed image.
Lastly, make sure to lock the focus on your camera. For most cameras, you can bring the image into focus using autofocus, then switch to manual focus so the camera doesn't try to re-adjust the focus once the filter is in place.
2. Choosing the Right Settings
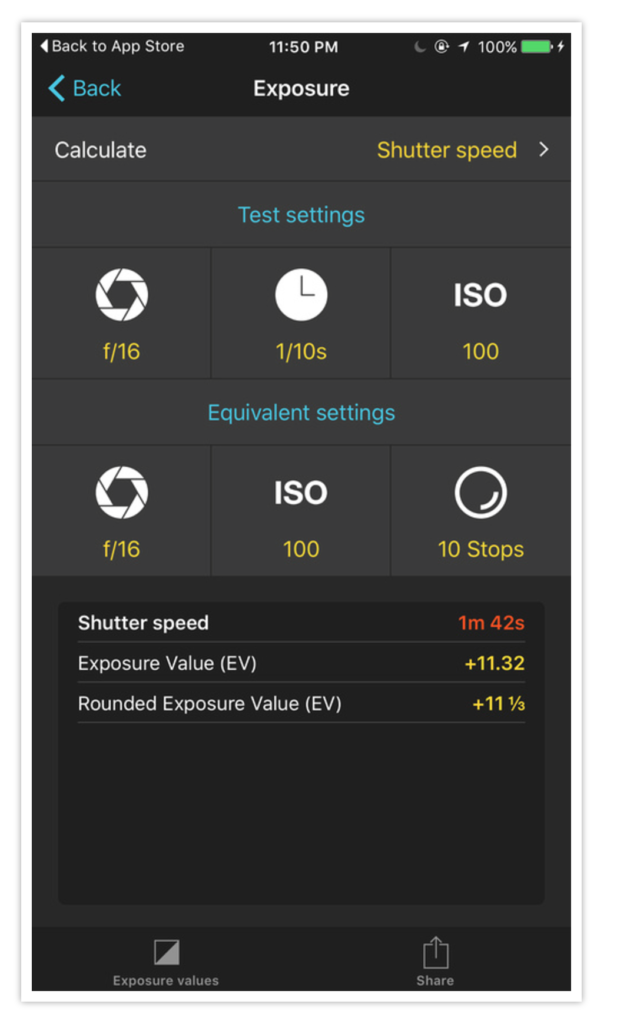
I use the iPhone app PhotoPills to help me get the correct exposure settings for the perfect photograph. Shots taken with 10-stop ND filters are always long exposures, which means you'll rely primarily on the shutter speed to get enough light to your camera’s sensor. With that in mind, feel free to use ISO 100 to reduce noise.
By that token, you can also set the aperture to f/11. Chances are that you'll have some motion blur within the image – water, people, or something else. That's what you're trying to achieve. Exceedingly long time exposures will eliminate fast-moving objects (as if someone walked through your frame) from the photo, leaving milky trails from waterfalls and moving clouds.
Once those settings are in place, you'll only need to experiment with the shutter speed to get the exposure right. That's why I use the PhotoPills App to remove the guesswork when I'm setting my exposure. In many instances (though not all), you'll find yourself using the camera’s bulb setting.
3. Extra Equipment You'll Need
The first, most crucial piece of equipment that you'll need is a tripod to stabilize your camera. If you’re likely to use the bulb setting, a timer of some sort – a stopwatch or the timer on your phone – will help you keep track of exposure times. You'll also need a remote trigger to fire the camera’s shutter without jostling it.
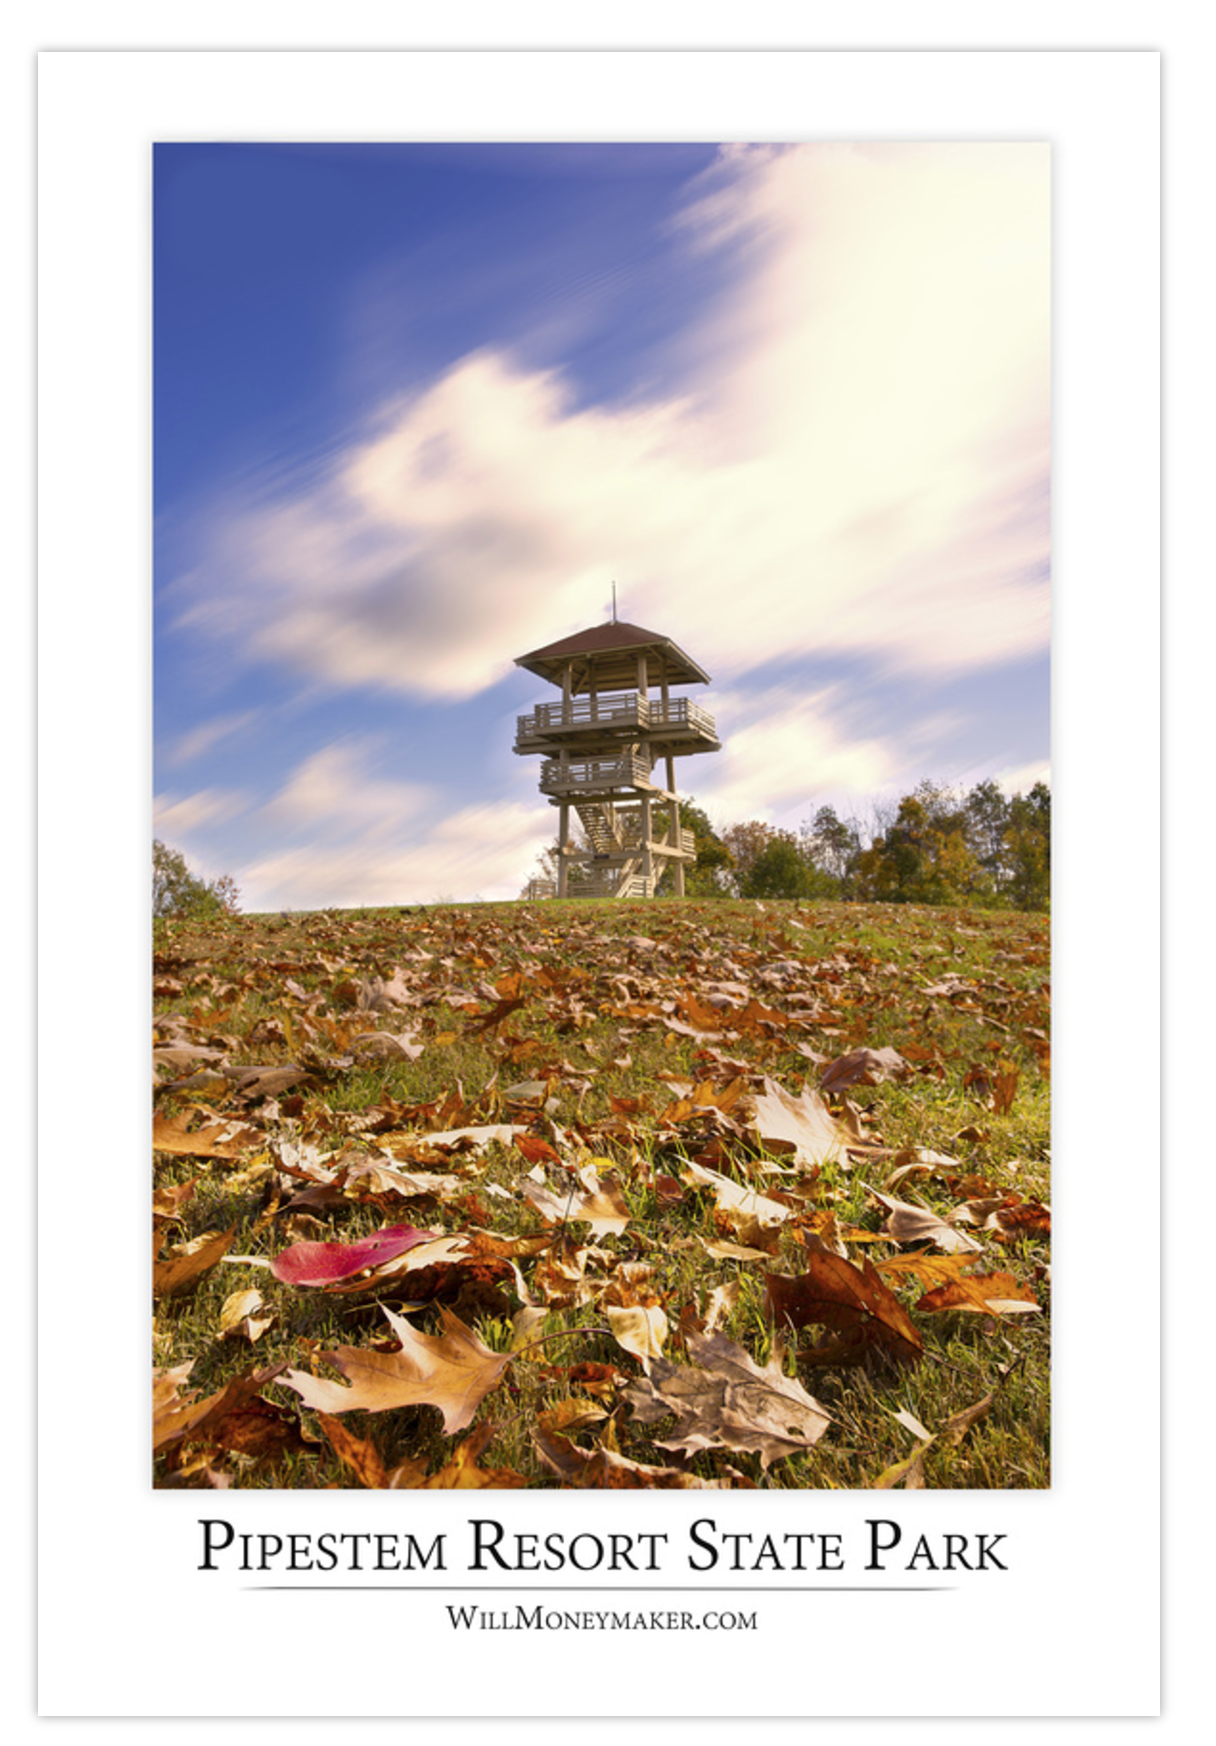
If you're taking photos outdoors, you'll find a set of graduated neutral density filters helpful. These filters are particularly effective for landscape shots because they help prevent blown-out skies. If you decide to use a graduated ND filter, put it on your lens before attaching the 10-stop ND filter so you can align the gradient with the skyline.
It seems strange to create long exposures in broad daylight, but if you already have the equipment or you're looking for a great new technique, then this is definitely worth a shot. The vast majority of daytime exposures are short by necessity. If you can create long exposures with the sun high in the sky, you'll have the ability to create unusual, interesting images.
I’ve always asked questions. That’s how I’ve learned most of what I know. I’ve asked other photographers. I’ve read. I’ve tried things. I’ve made mistakes...
When we get caught up in the daily grind, we often don’t make time for our art. In this episode, I’ll show you how daily photo projects help you improve your...
Photographers, in order to create effective images, need to connect with their subjects rather than simply observing. Here are some ways you can do this.