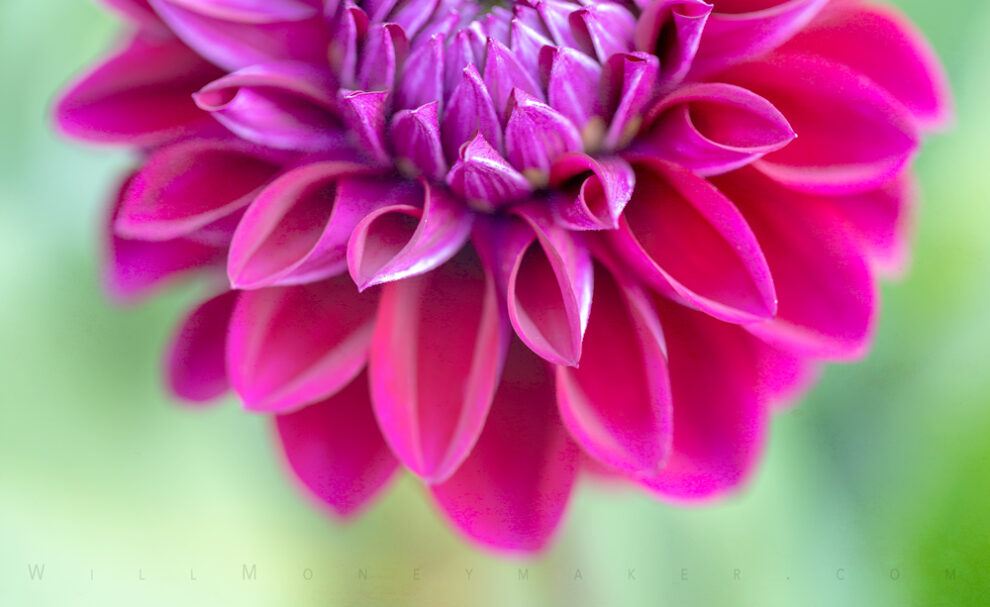
Last week, I talked about a variety of ways to look at flowers in order to create new and usual pieces of artwork. The things that I discussed, however, only scratch the surface. The more you delve into this subject, and the more you take the time to study flowers, to think about them creatively, the more ideas you will have. It’s not only about looking at flowers in unusual ways, but also about experimenting with other aspects of the photograph, too. Everything from lighting to the depth of field and various props that you can use — these are all things that can help you create interesting visuals. So let’s dig into the second half of this series so that you have a few more ideas to work with!
Experiment with Angles
The most common flower photographs are taken from a straight-on angle, or a top-down angle, which is basically just an image that shows the flower as we are used to looking at it, so that we see the entire bloom, the center of the flower, and so on. But as you’re experimenting with flowers, keep in mind that this isn’t the only angle from which to photograph them.
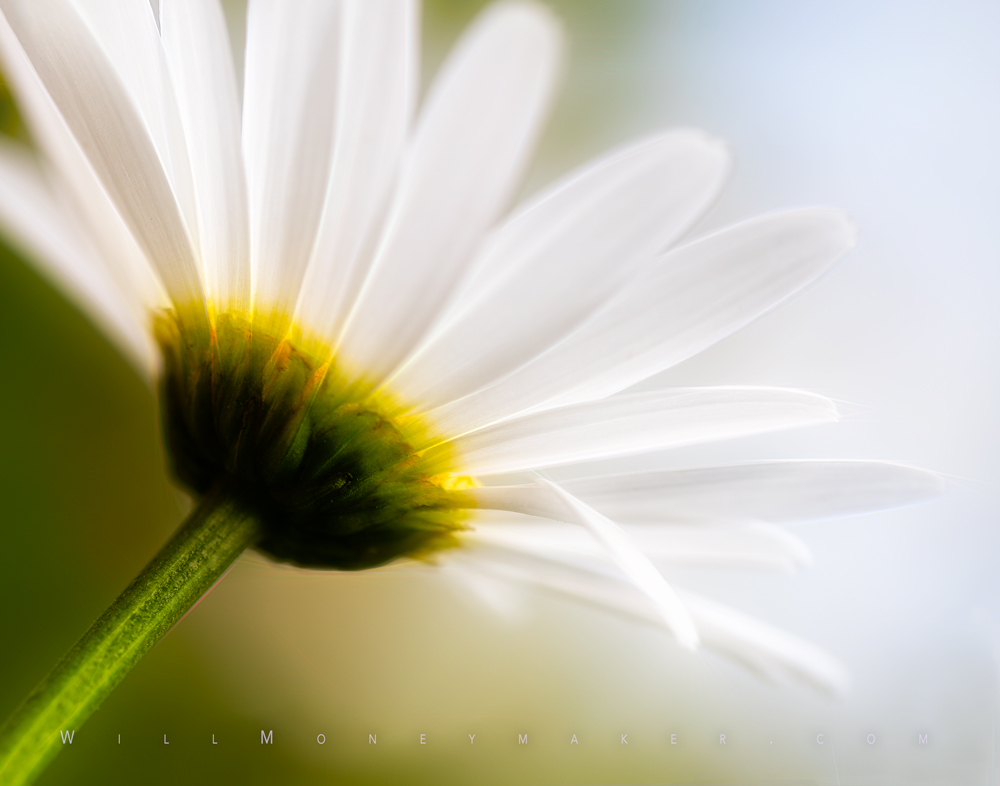
Try photographing the flower from the sides, to capture the razor-sharp edges of the petals or to depict the way some petals have a ruffled edge. Or, photograph the flower from the underside. Here, you’ll find all kinds of interesting elements — the green, where the flower connects to the stem, foliage and more. Look at flowers from all angles to make sure that as you photograph them, you don’t miss anything.
Don’t Hesitate to Use Props
Another way to explore the world of flowers is to is through the use of props. For instance, if you’re photographing in the wild, you can’t always guarantee an ideal backdrop. Moreover, sometimes you’re shooting at small apertures, which makes it hard to get that nice background blur you want.
What I like to do is create unfocused photographs of colorful subjects. These can be printed out and glued to a poster board. Make them about 12 inches to a side, and you’ll be able to carry them in your camera bag (or, make them slightly smaller, if needed). Then, when you’re onsite but you just can’t make the backgrounds work how you envision them, you’ll have a selection of premade backdrops to put behind your floral subjects.
It’s always fun to play with water, too. Fill a small spray bottle with water and mist the flowers you’re photographing. On most petals, the water beads beautifully, which means you’ll have endless amounts of fun photographing the droplets and the reflections inside them. It’s also fun to try and capture droplets falling from petals, or to try and capture the reflection of a flower in a dangling drop.
There are, of course, hundreds of ways to employ props in your flower photography. If you have white cut flowers, then put them in a vase with some water that has food coloring in it. In a day or two, you’ll start to notice colored veins in the petals, and these can make for interesting photographs, too. Or, try splashing watercolor paints or another type of paint on petals. Always keep an eye out for interesting things you can include in flower photographs and you’ll have no trouble coming up with unique new ideas.
Play with the Lighting
As with backgrounds and angles, there are also innumerable ways to play with lighting — particularly if you are indoors, using studio lighting. Try side lighting with full blooms like roses to see how the petals cast shadows all over each other. Or, experiment with backlighting. Many petals have an etherial, translucent quality, which can make for beautiful photographs — particularly if you can capture veining or the glittery, grainy effect that some petals have up close.
And there is also colored lighting. If you have colored gels, try them out. This works with flowers of any color, but it’s especially fun with white flowers. You could even create a whole bouquet and shine lights of a variety of colors on different areas of the bouquet for a beautiful rainbow effect.
Carefully Control the Depth of Field
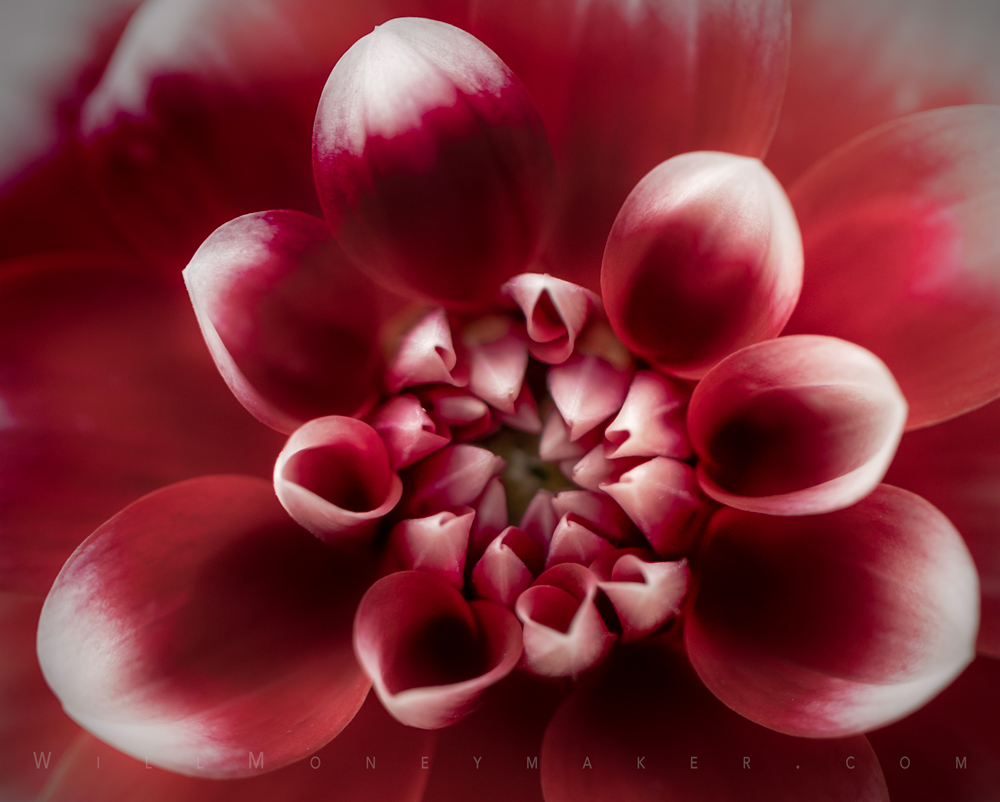
One of the key fundamentals of flower photography is careful control of the depth of field. This doesn’t necessarily mean that you need to have a wide depth of field or a narrow one, only that it is important to understand the role of the in-focus areas of the photograph.
As you’re creating images, think about the most important part of the image. Are you taking a photograph of the flower’s pistil or the stamen? Is your aim to capture a single petal in all its beauty? Or do you only want the edges of petals to be sharp? In that case, you may want to isolate these pieces of the flower so that the rest of the flower can serve as a smooth, blurred, non-distracting backdrop to the elements you are capturing.
At the other end of the spectrum, perhaps you want to take a photograph in which the entire flower is in focus. This is sometimes achievable by using the narrowest aperture possible given the lighting situation, but if you’re using macro lenses, then creating a photograph that is entirely in focus will prove to be extraordinarily difficult if not impossible. Still, there are tools that can help you widen the depth of field in post-processing. While I’ve not used it myself, software like Helicon Focus allows you to do what is called “focus stacking.” In other words, this is a tool that lets you take a series of photographs, placing the depth of field differently in each, then combine them to create a fully focused composite image.
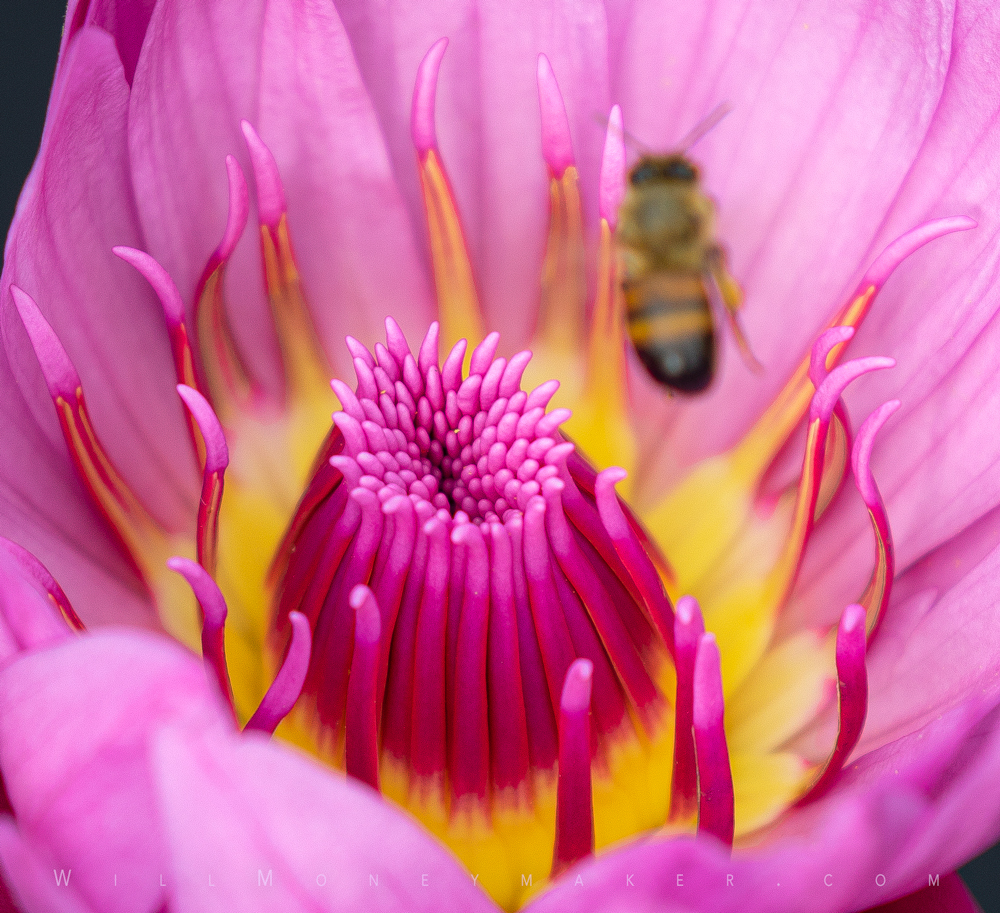
Depth of field, and learning to manipulate f-stops, angles, and techniques like focus stacking, are all things that take time and practice to master. However, for something like flower photography, these skills are essential to ensure that the focus is exactly where you want it in each image.
For a subject that some consider boring, there is a lot to know about floral photography. These posts will give you some ideas, but the most important things to remember are to get in close and to be as imaginative as possible. Spend plenty of time experimenting and you’ll soon discover that flowers provide an interesting and beautiful challenge.


