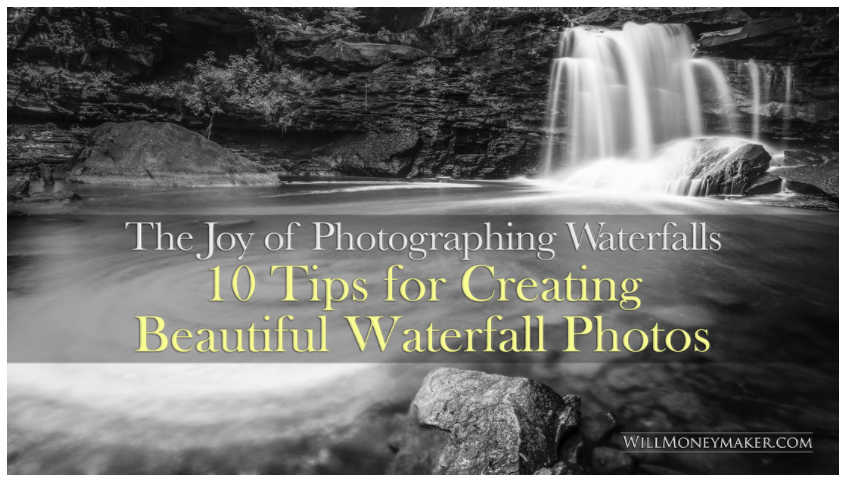
There are few things more soothing than the trickling sounds of water mixed with birdsong from a nearby forest. As a photographer, we have the unique opportunity to capture the beauty that the Lord has made, and that includes rushing waterfalls. To make an image of silky flowing water, you’ll not only need to master your camera but also come to an understanding of your surroundings.
1. Use Slow Shutter Speeds for Photographing Waterfalls
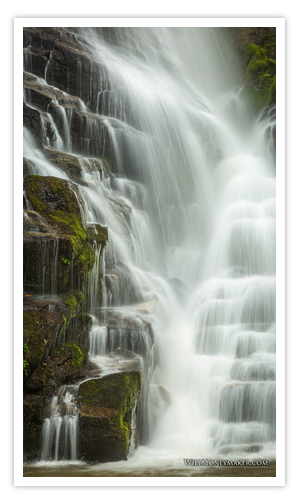
What makes an ordinary waterfall photo extraordinary is the smooth look of flowing water. Photographers take advantage of motion blur to create this stunning effect. I normally use a shutter speed that is several seconds long to smooth water, but in very bright conditions or when photographing slow-moving water, a shutter speed as fast as 1/15 may work.
2. Choosing the Right Tripod
Slow shutter speeds make camera stabilization essential. You’ll need a sturdy tripod, and preferably one that is waterproof. The tripod should have adjustable legs to account for uneven terrain, and it should be a model that doesn’t have a center pole. Those made without the center pole let you get your camera low to the ground, which helps you create compositions that are more interesting.
 3. Adjusting ISO and Aperture
Remember that with slow shutter speeds – especially during daylight hours – you’ll need to compensate by stopping down the aperture and lowering the ISO. Start with the aperture, and take it all the way down to f/22 if you must. Not only will this reduce the light hitting your sensor, but it will also help improve the overall clarity of the final image. If you find that your camera’s meter is still reading too high, lower the ISO setting until you have the correct exposure.
4. Use a Remote Trigger or Timer
Simply pressing the shutter button will cause enough camera shake to blur your otherwise perfect waterfall photos. The best option is to use a remote shutter trigger with your camera so that you don’t have to handle the camera once it’s been set up. Failing that, set your camera’s timer so that the shutter actuates a few seconds after the shutter release is pressed. This will ensure that the camera stops moving before the exposure starts.
5. Invest in Filters
At the very least, you’ll need to invest in neutral density (ND) filters. A polarizer is helpful, too. ND filters serve two purposes: they help balance your images so that bright skies aren’t blown out against dark rocks, and they lower the amount of light entering the lens. An ND 0.3 filter decreases the light by one f-stop, while an ND 1.8 filter will decrease light by six f-stops.
Polarizers also decrease the light a little bit, but more importantly, they reduce reflections. If you happen to be shooting a waterfall that is flowing into a glassy pool, use a polarizer to cut back on glare or other unwanted reflections. A polarizer will also help somewhat if you’re battling specular highlights.
6. Sun or Clouds?
Unless a bright blue sky is absolutely necessary to your image, it’s always wiser to shoot a waterfall on a cloudy day. Bright sunlight causes specular highlights – or bright points of reflected light – on the water, and depending on the position of the sun in the sky, it can cause dark directional shadows among rocks, trees, and other landscape elements.
7. Dress to Get Wet
Wear boots or a good pair of water shoes, and take along a change of clothes in case you get wet. Sometimes the best composition means you’ll need to get down in the water rather than staying on the shore.
8. Take Wide and Telephoto Lenses
When I photograph a waterfall, I always take along a 17-40 Canon wide-angle lens and a 70-200 lens. The wide-angle lens is necessary to capture sweeping views, while the 70-200 lets me take tight shots or zoom in close to the water without soaking the camera.
9. Bracket Your Shots
When you’re taking shots that include leaves, plants, or anything else that might waver in the breeze, make sure to take a couple of shots of the same scene at a faster shutter speed. As you’re processing the images later, you can use layer masks to fix blurred vegetation. For that matter, you can also use layer masks to fix blown-out portions of the sky or areas of the image that are too dark.
10. Making Rocks Look Uniform
Another handy trick I’ve learned over the years is to take a squirt gun along. You’ll notice that rocks in the foreground are often dry. Use the squirt gun to moisten the rocks for a nice, even, shiny look.
Capturing the perfect image of rushing water is one of the most rewarding things any photographer can do. You’ll need to do a lot of practicing and experimentation, but once you’ve learned how to capture a waterfall, you’ll be able to make fine art that transports people to another time and place.