Naturally Lighting Your Subject With Golden Hour
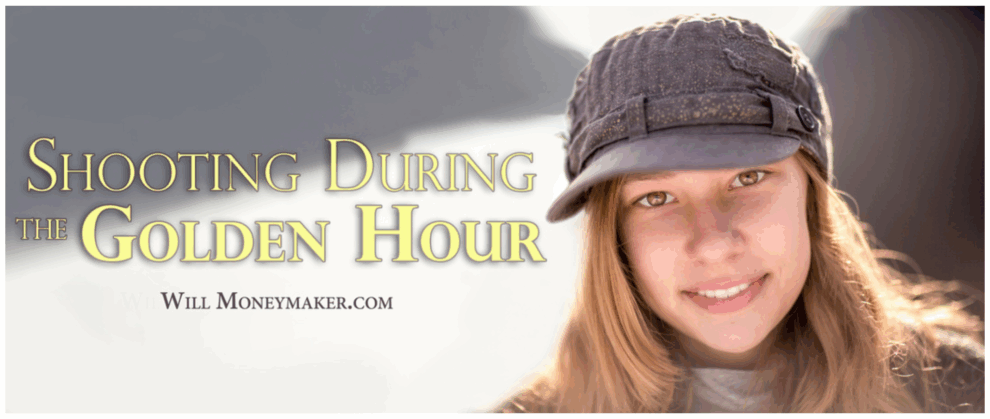
Light often makes or breaks an image. The wrong lighting can result in harsh shadows, blown-out highlights, under-lit subjects, and more. Soft light makes people look pretty, while harsh light usually makes people look harsh, old, or flawed. Most lighting cannot be fixed later during the editing process, so starting out with good lighting is important.
“In almost all photography it’s the quality of light that makes or breaks the shot. For professional photographers, chasing the light, waiting for it, sometimes helping it, and finally capturing it is a constant preoccupation — and for some an obsession.” ~ Michael Freeman, Capturing Light: The Heart of Photography
What is Golden Hour?
There is a time right before sunset and right after sunrise that has beautiful lighting. Roughly the hour after the sunrise and the hour before the sunset, the lighting is soft and majestic. The warm glow of the diffused sun creates a natural lighting effect photographers call Golden Hour. If you are shooting during Golden Hour, you nearly can’t go wrong with the lighting on your subject.
Different Conditions, Different Results
It is important to remember that not all Golden Hours are created equal. The result will depend on:
- Location (the sun might be hidden from view faster in some places than others)
- Pollution Levels and Particles
- Weather
Golden Hour in one place might be better than in another, or better on another day. If you try to shoot the hour after sunrise and it is a cloudy day, you may get the sun so diffused that you cannot get enough light. Like most outdoor photography, you can't always count on the weather to cooperate.
Ways to Use Magical Golden Hour Lighting
Here are some cool effects to watch for when you are shooting during Golden Hour:
- Backlit Rims of Light:
When the sun is higher during Golden Hour (the beginning of evening Golden Hour and the end of the morning Golden Hour), you can naturally light your subject from the back and still have enough light on the face of the subject. Position the sun out of the frame and behind the subject for a glowing halo that highlights the subject's hair and shoulders, without darkening the face too much.
- Frontlit:
Like other times of the day, front-lit pictures provide beautiful lighting. During Golden Hour, your subjects are less likely to squint and the shadows are softer.
- Dramatic Rays:
Use the sun to create cool effects behind your subjects for an amazing sunset or sunrise shots.
- Lens Flares:
Natural lens flares are cool. During Golden Hour, you can move the camera around until you see flares in the frame – don’t forget to consider how they affect the image and composition.
- Silhouettes:
Golden Hour is also beautiful for shooting landscapes. Focus on a backlit landscape and let your subject become a silhouette on the horizon for a unique shot.
- Indoors:
Golden light can come through a window or doorway that offers plenty of light inside. This golden glow can make a barn, house, or building light up in the same way as the outdoors do during the magical time.
- Long Shadows:
Photography is dependant on dimension. The long shadows of Golden Hour create a depth and dimension that will make your photos more dynamic.

